Welcome

Welcome to Kay's Village Recipes! Some believe the heart of the home is in the kitchen, I believe the kitchen is the heart of the village. It takes a “village” to live life to its fullest and it has nothing to do with geography or how large or small a town you live in. My “village” is inhabited by family members, dear friends, co-workers, and the occasional visitor who is in my life for a short period of time. Each one of these people has a profound impact on my emotional wellbeing as well as the quality of my life, and all have one thing in common…they all love to eat, and I love to cook for them.
On this blog you will find free, family recipes for: homemade soups, breads, apple pie, cakes, candies, snacks, casseroles, main courses, side dishes, appetizers, breakfast, home-style cooking, and so much more.
Showing posts with label Snacks. Show all posts

Wednesday, January 11, 2012

Village Spiced Nuts

Original Recipe from:  Kay Johnson-Tomblin

This treat is a village favorite!  I am not a fan of candy coated nuts because the coating usually overpowers the flavor of the nuts and the coatings tend to be a hard shell.  This recipe complements the flavor of the nuts with a hint of sweetness and spice and no hard coating.  They taste great right out of the oven or days later.  Store in an air tight container and they will stay tasty for a few weeks….if they last that long!  I have packaged this tasty treat in many cute ways to give as gifts much to the delight of the recipients.  Make a batch today and prepare for your taste buds to be impressed.  Enjoy!


Ingredients
1 pound whole Pecans and/or Walnuts
1 Egg White
1 tablespoon Water
1 cup Sugar
1 teaspoon Cinnamon
1/2 teaspoon Sea Salt

 
Directions
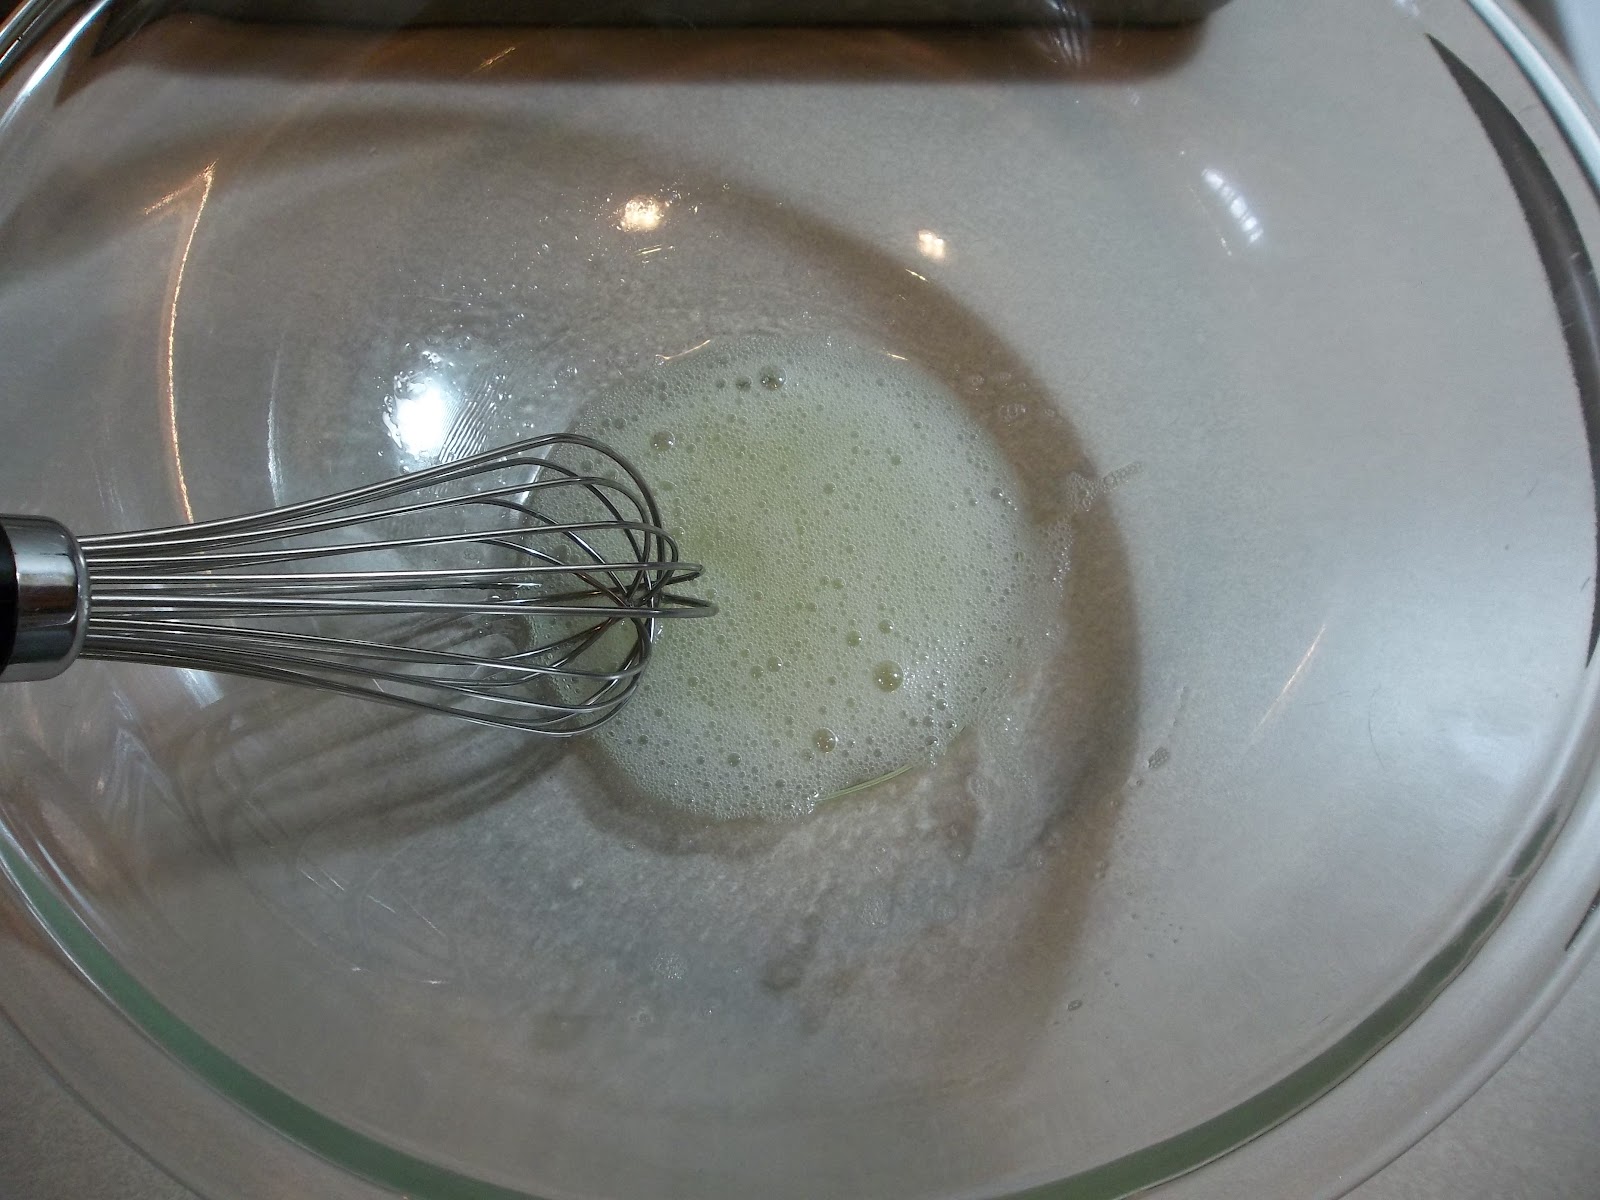
In a large mixing bowl, beat the Egg White and Water until foamy.  Add Nuts and coat thoroughly.

 
In a small mixing bowl, combine the Sugar, Cinnamon, and Sea Salt and pour over the nuts.  Stir to coat well.


Generously grease a 15x9x2 inch baking pan with Butter or Margarine.  Spread spiced nuts on the pan in a single layer. 


Bake in 275 degree oven for 45 minutes.  Stir every 15 minutes (very important). 


Cool on a sheet of wax or parchment paper. 
Store in an air-tight container.
Note:  If you are making a large batch, it is best to work with one pound of nuts at a time.  I like to use both Pecans and Walnuts, although either one tastes great on its own.  When I make them I do the Pecans first and then the Walnuts and mix the finished products together for serving and packaging. 

Tuesday, December 20, 2011

Reindeer Chow

Original Recipe from:  Pamela-Tomblin-Schultheis

A few years ago Pam made what she called Puppy Chow for a Christmas treat.  I immediately decided this needs to be a family tradition, but I really didn’t like the name.  Having had a few dogs in my life the idea of eating “puppy chow” was not appealing to me…so I changed the name to Reindeer Chow.  The recipe is just a tad messy, but the results are well worth it!  You will need a LOT of space unless you work in half-half batches, which can easily be done.  Since working in two batches means two kitchen cleanings, I prefer to make the entire batch.  Although if you don’t have a lot of folks to share this with; a half-batch may be just the perfect size for you.

Using treat bags Reindeer Chow makes a great gift item.  Co-workers, friends and family are always delighted when their gift includes a bag of this tasty treat.  White chocolate, salty pretzels and crunchy cereal blend together to make the perfect snack.  I promise this is a recipe to try.  Enjoy!


Ingredients
2-12.6 oz. bags Peanut M&M’s (holiday colors)
14 oz. box Cheerio’s
12.8 oz. box Rice Chex
1-2 (7.5 oz.) bags Bugels
1 lb. bag Mini Pretzel sticks
4 lbs. White Chocolate


Directions
Cover table or countertop with wax paper, overlapping the strips.  Note:  I have found that taping the strips together on the bottom side helps to keep the wax paper from shifting as you spread out the mix.

Mix dry ingredients together in a very large mixing bowl or baking pan.  Note:  Some people prefer to lay the mixture out on the table and pour the chocolate over the mixture on the table.  I prefer to use a mixing bowl.


At this point I actually work in quarter batches to coat the mixture with the chocolate.  I have found that it is easier for me to work the mixture and more evenly coat it with the chocolate.  I tried the mix it all on the table method and didn’t like the process at all.  I encourage you to work it in the way that works best for you. 

Melt Chocolate in a double boiler or microwave one pound at a time.  Pour Chocolate over mixture and mix to coat evenly.


Allow mixture to dry.  Break into pieces and package.  I use treat bags, but you could use tins or jars. 

Tuesday, September 27, 2011

Village Flatbread Pizza

Original Recipe from:  Kay Johnson-Tomblin

Pizza is one of my personal favorite treats.  My neighborhood is full of delicious take-out pizza choices, but I don’t always feel like ordering out.  Kim’s Pizza Dough is fabulous, but makes way too much for a single household.  I don’t care for most of the ready-made pizza crust options at the grocery story, even though they are available in smaller sizes.  Making a personal pizza at home was a problem for me.  Then I found square Pita Bread at my local grocery store.  The package says “Great as a Pizza Crust”, so I decided to give it a try.  All I can say is, “amazing”!  The perfect crust, the perfect size, very convenient, and taste great!

These pizzas would make a great family night dinner.  Get out a selection of toppings and let each family member make their own pizza.  They would also make a great dinner party theme with each guest making their pizza just the way they like it.  Enjoy!


Ingredients

1 piece Square Pita Bread
Marinara Sauce (or any pizza sauce you like)
Chicken Chunks
Sliced Mushrooms
Bacon Bits
Mozzarella Cheese, shredded


Directions

Thursday, July 7, 2011

Peanut Butter Apple S’mores

Original Recipe from:  Kay Johnson-Tomblin

Kids, Summer and S’mores just seem to go together.  The only problem is that you don’t always have a bonfire or grill going to make the roasted marshmallows.  This recipe doesn’t need a bonfire, just some marshmallow crème.  You can make these year ‘round.  You also get the added nutritional value of the protein and fruit.  Just don’t tell the kids….they’ll never guess.  Adults without kids in the house will also love this recipe and get in touch with their inner-child.  Enjoy!

Ingredients

4 Cinnamon Graham Cracker sheets
4 teaspoons Creamy Peanut Butter
8 teaspoons Marshmallow Crème
1 Apple, sliced


Directions

Cut Apple into 12 slices.  Divide Graham Cracker sheets in half.  Spread 4 of the halves with 1 teaspoon Peanut Butter on each and cover with 3 Apple slices.  Spread 2 teaspoons Marshmallow Crème on each of the remaining Graham Cracker halves.  Top each of the Peanut Butter/Apple Graham Crackers with a Marshmallow covered Graham Cracker.

Makes 4 S’mores

Sunday, February 20, 2011

Heart Healthy Snack Mix, Kay Johnson-Tomblin

I created this snack mix over 20 years ago.  The perfect blend of sweet, crunchy, salty snack that is actually good for you.  It is full of fiber, and antioxidants, helps lower cholesterol and is a heart-healthy alternative to potato chips and other snack options.  A staple in my pantry, always there when I need it.  Keep a jar in your desk for the mid-day emergency snack, take a bag with you when traveling (great for long trips), give away as gifts.  This is my most requested recipe.  Enjoy!

Note:  February is American Heart Month.  Heart disease is the #1 killer in America.  Learn the symptoms; you might just save your life.  http://www.americanheartassociation.com/ 


Ingredients

1 Box Quaker Oatmeal Squares Cereal (the blue box)

6-7 ounces Raisins
6-7 ounces Golden Raisins
6-7 ounces Dried Cranberries

12 ounces Chopped Walnuts
12 ounces Cashews (Halves and Pieces)
Or
12 ounces Lightly Salted Peanuts